
Best way to cook beef chuck steak on grill 7 minutes
Have you ever stared at a beautiful, well-marbled beef chuck steak, wondering how to transform that affordable cut into a tender, flavorful masterpiece without a marathon cooking session? You’re not alone. Chuck steak is legendary for its deep, beefy taste but notorious for being tough if mishandled.
What if I told you the secret to perfect beef chuck steak on grill is a precise, high-heat 7-minute method? It’s not a typo. With the right technique, you can achieve a restaurant-worthy, juicy steak with a stunning crust in less time than it takes to cook a side of rice. Let’s unlock that potential.
Table of Contents
Ingredients for Grill-Ready Flavor

For this genius method, simplicity is key. You want the beef to shine.
- 2 (1.5-inch thick) beef chuck steaks: Look for good marbling. This is non-negotiable for juiciness.
- 2 tbsp high-smoke-point oil: Avocado or refined grapeseed oil. Do not use olive oil for the initial sear.
- Kosher salt & freshly ground black pepper: The holy trinity. Season generously.
- 4-5 garlic cloves, lightly crushed: For aromatic infusion.
- 2-3 sprigs fresh rosemary or thyme: Adds an earthy, piney note.
- 2 tbsp unsalted butter (optional but recommended): For finishing.
- 1 tsp smoked paprika (optional): For a subtle smoky depth, especially if using a gas grill.
Substitutions & Upgrades:
- No herbs? Use 1 tsp dried herbs blend.
*For a grilled chuck steak recipe with a kick, add 1 tbsp cracked black peppercorns or a pinch of chili flakes to the seasoning.
- Want it sweeter? A thin glaze of 1 tbsp honey mixed with soy sauce in the last minute of cooking is magical.
Timing: Your 7-Minute Promise
This method is all about efficiency. Here’s the breakdown:
- Prep Time: 10 minutes (mostly for the steak to come to room temp and seasoning).
- Cook Time: 7 minutes total (3.5 minutes per side).
- Rest Time: 5 minutes (critical!).
- Total Time: 22 minutes.
This saves at least 15-20 minutes compared to traditional lower-and-slower grilling methods for this cut, making it a perfect weeknight dinner solution.
Step-by-Step: The 7-Minute Grill Method
Step 1: Prep the Steak (The 10-Minute MVP)
Pat your steaks extremely dry with paper towels. Any surface moisture is the enemy of a good crust. Season both sides liberally with salt and pepper, pressing it in. Let them sit at room temperature for 10 minutes while you preheat the grill. Pro Tip: For an even deeper flavor, you can season 40 minutes ahead and let it sit uncovered in the fridge (a dry brine), but bring back to room temp before grilling.
Step 2: Fire Up the Grill
Preheat your grill to high, direct heat (450-500°F / 230-260°C). You want those grates scorching hot. For charcoal, wait until the coals are white-hot and spread in a single layer. For gas, turn all burners to high and close the lid for 10-15 minutes. Clean the grates thoroughly with a grill brush.
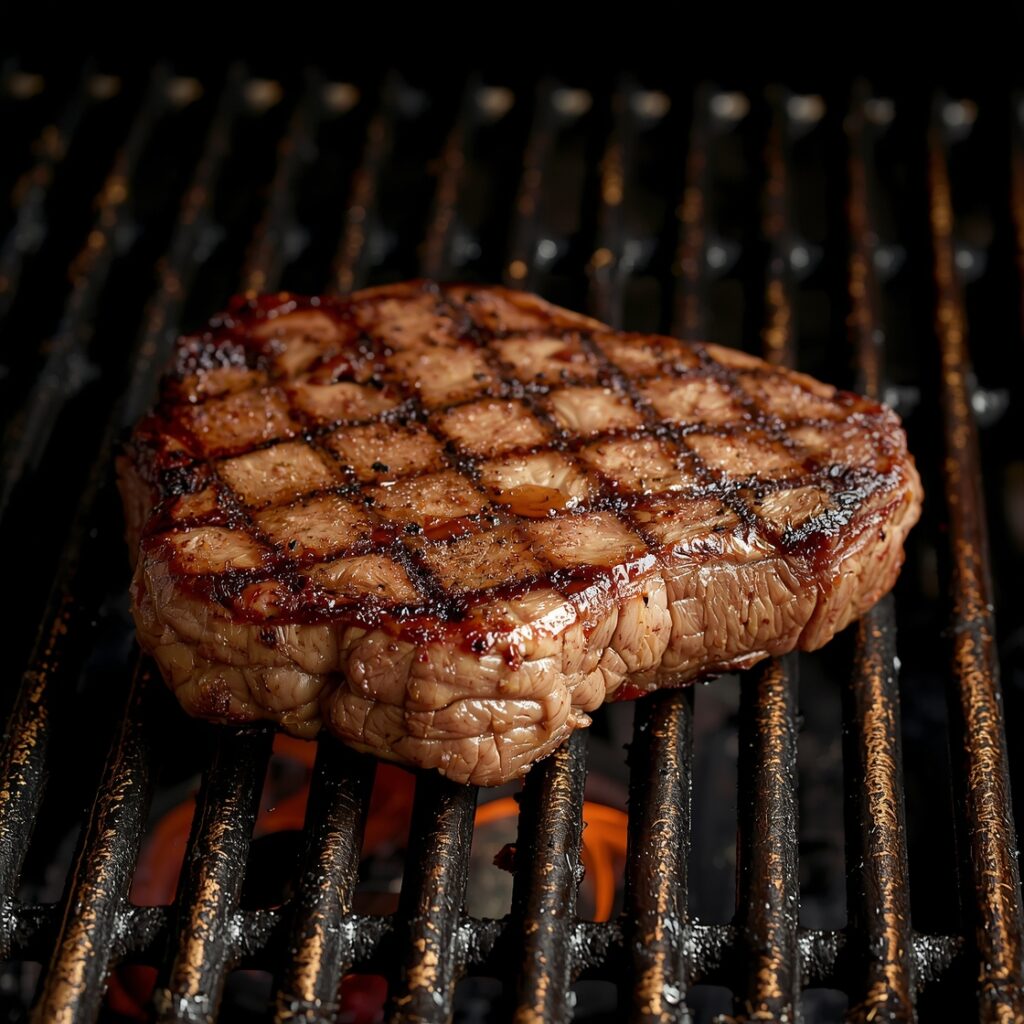
Step 3: The 3.5-Minute Sear
Place the steaks directly over the hottest part of the grill. Set a timer for 3.5 minutes. Do not peek, flip, or move them! Let that Maillard reaction work its magic, creating that profound, flavorful crust. After 3.5 minutes, flip once using tongs (never a fork!).
Step 4: Finish & Add Aromatics
Sear the second side for another 3.5 minutes. In the last 60 seconds, add the garlic cloves and herb sprigs directly to the hot grill next to the steak, and if using, place a pat of butter on top of each steak to melt and baste. This infuses the meat with incredible aroma.
Step 5: The Non-Negotiable Rest
Transfer steaks to a warm plate or cutting board. Tent loosely with foil and REST FOR 5 MINUTES. This is when the juices redistribute. Cutting into it now is a one-way ticket to Dry Steak City. I’ve found that using a probe thermometer here shows the internal temperature will rise 5-10°F during this rest (carryover cooking), taking a perfect medium-rare (130°F at sear) to a ideal 135-140°F.
Nutritional Information (Per 6oz Serving, Approx.)
- Calories: 420
- Protein: 42g
- Fat: 28g (Saturated: 11g)
- Carbs: 0g
- Fiber: 0g
- Iron: 15% DV | Zinc: 40% DV | B12: 90% DV
Note: Values vary based on exact cut trim.*
Healthier Alternatives & Swaps
- Trim the Fat: Ask your butcher for a slightly leaner chuck steak or trim excess visible fat before cooking. The flavor will still be excellent.
- Sugar-Free/Marinade-Free: This recipe is naturally sugar-free. Skip the optional honey and smoked paprika.
- Vegan/Vegetarian “Steak”: Portobello mushroom caps, thick-cut cauliflower steaks, or heart of palm slices can be grilled using this exact high-heat, short-time method. Marinate them for 30 minutes first.
- Low-Carb Friendly: This recipe is already keto/zero-carb compliant. Serve with low-carb sides like zucchini noodles or a hearty salad.
Serving Suggestions: Elevate Your Plate
- Classic: Slice against the grain and serve over a pile of garlic-herb mashed potatoes or a crisp green salad with a tangy vinaigrette.
- Southwest Style: Top with charred scallions, a spoonful of fresh pico de gallo, and avocado slices.
- Elegant: Drizzle with a quick beurre blanc or a chimichurri sauce. Garnish with microgreens.
- The Perfect Drink: A cold, malty amber ale or a bold, fruity Cabernet Sauvignon cuts beautifully through the richness.
Common Mistakes to Avoid (Save Your Steak!)
1. Not Patting Dry: Wet meat steams instead of sears. You will get a gray, tough exterior. Always, always pat dry.
2. Moving It Too Soon: The steak will stick and tear if you try to flip it before it’s ready. Trust the 3.5-minute timer. It will release naturally when a good crust forms.
3. Skipping the Rest: This is the #1 reason for dry steak. The juices need time to settle. Five minutes is the minimum.
4. Using a Fork to Flip: You’ll puncture the steak and lose precious juices. Use sturdy tongs.
5. Pressing Down: You’re not making a burger. Pressing squeezes out flavor and moisture.
Storing & Reheating Like a Pro
- Fridge: Store sliced or whole steak in an airtight container for 3-4 days. Place a paper towel over it to absorb excess moisture.
- Freezer: Wrap tightly in plastic wrap, then foil, and freeze for up to 3 months. Thaw in the fridge overnight.
- Reheating: The goal is to warm without overcooking. The best method is to slice the cold steak and quickly sear it in a hot pan for 30 seconds per side. Alternatively, wrap in foil and warm in a 300°F oven for 10-15 minutes. Never microwave—it will turn it into shoe leather.
Conclusion: Your New Favorite Weeknight Steak
This high-heat, short-time method transforms a budget-friendly cut into a spectacular meal with minimal effort. You get that inimitable charred crust and a surprisingly tender, juicy interior every single time. It’s a game-changer for busy cooks who refuse to sacrifice flavor. Now, it’s your turn. Fire up the grill, grab some chuck steaks, and try this 7-minute magic. I’m confident it will become a staple. Have you tried grilling chuck steak before? What’s your go-to method? Share your results or questions in the comments below! For more transformative recipes, check out our guide to perfect reverse sear steaks.
FAQs
Q: Is 7 minutes long enough for a 1.5-inch thick chuck steak?
A: Yes! At high, direct heat (450-500°F), 3.5 minutes per side brings a 1.5-inch steak to perfect medium-rare (130°F internal temp before resting), which will rise to 135-140°F during the 5-minute rest. Always use a meat thermometer for precision.
Q: Should I marinate my chuck steak before grilling?
A: For this fast method, a heavy marinade isn’t needed and can actually inhibit a good crust. The simple salt/pepper/oil combo is perfect. If you want a flavor boost, a 30-minute dry brine (salting and uncovering in the fridge) works wonders.
Q: My grill doesn’t get that hot. What should I do?
A: Preheat with the lid closed for the full 15 minutes. If using gas, consider turning off one burner and placing the steak over the hottest remaining burner. You may need to add 1-2 minutes per side, but the principle remains the same: get it as hot as possible and leave it alone.
Q: What are the best side dishes for this grilled chuck steak?
A: Think fresh and light to balance the richness: grilled asparagus, a crisp corn and tomato salad, roasted baby potatoes, or a simple arugula salad with lemon. Starchy, buttery sides complement it perfectly.
Q: How do I know when the steak is done without a thermometer?
A: Learn the “finger test.” Press the base of your thumb. For medium-rare (the target here), the steak should feel like the fleshy part of your palm when your thumb touches your middle finger. It should have a firm but yielding spring. When in doubt, use a thermometer—it’s the most reliable tool.